How to Cook Filet Mignon in the Oven: Top Tips and Tricks

how to cook filet mignon

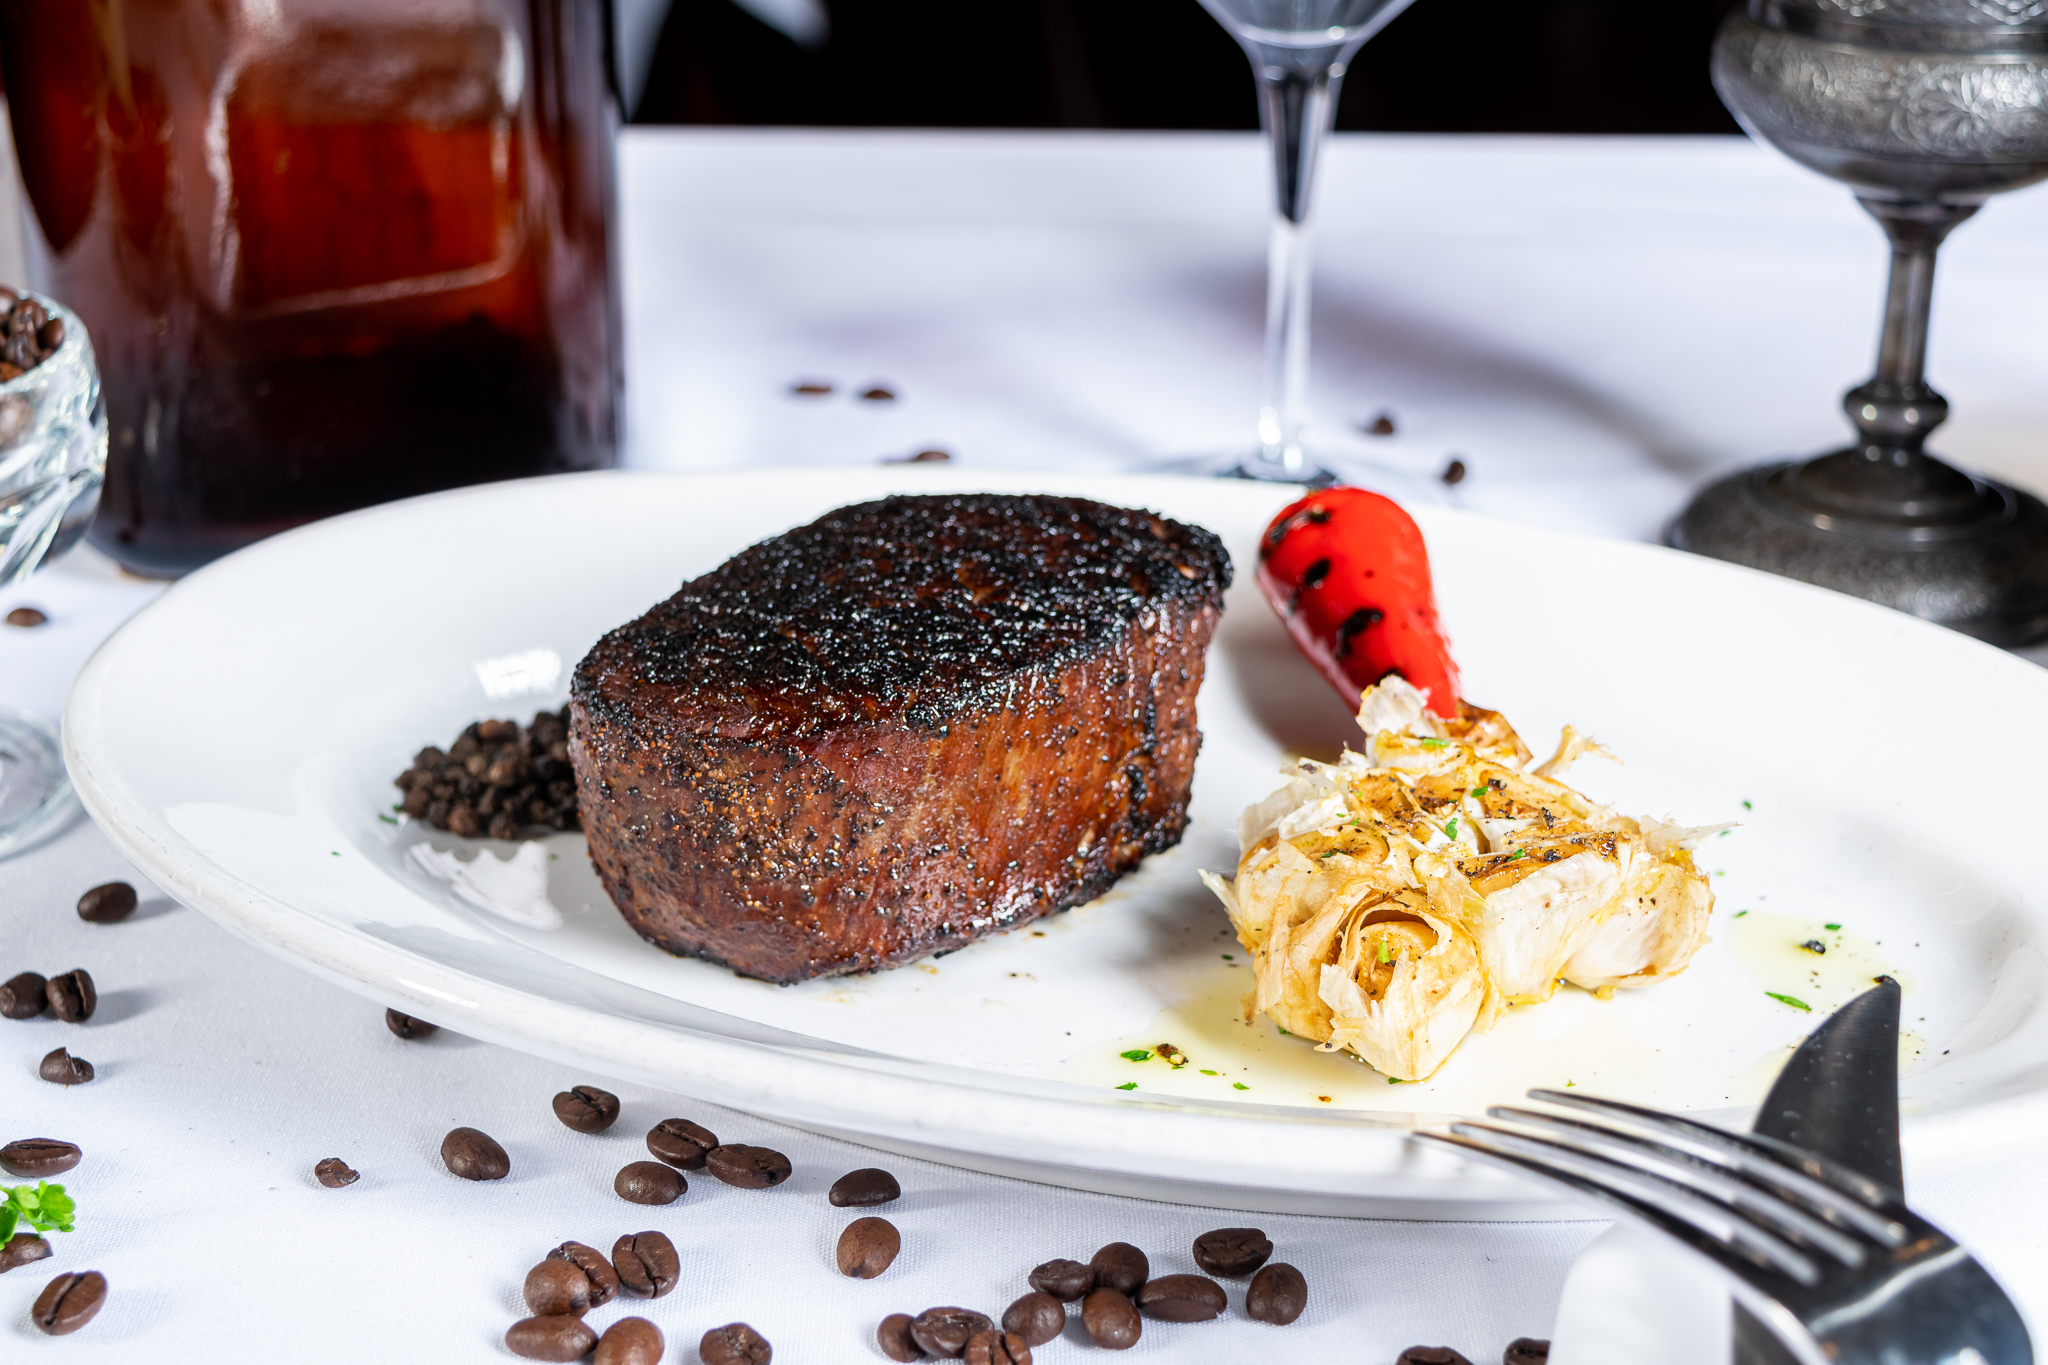
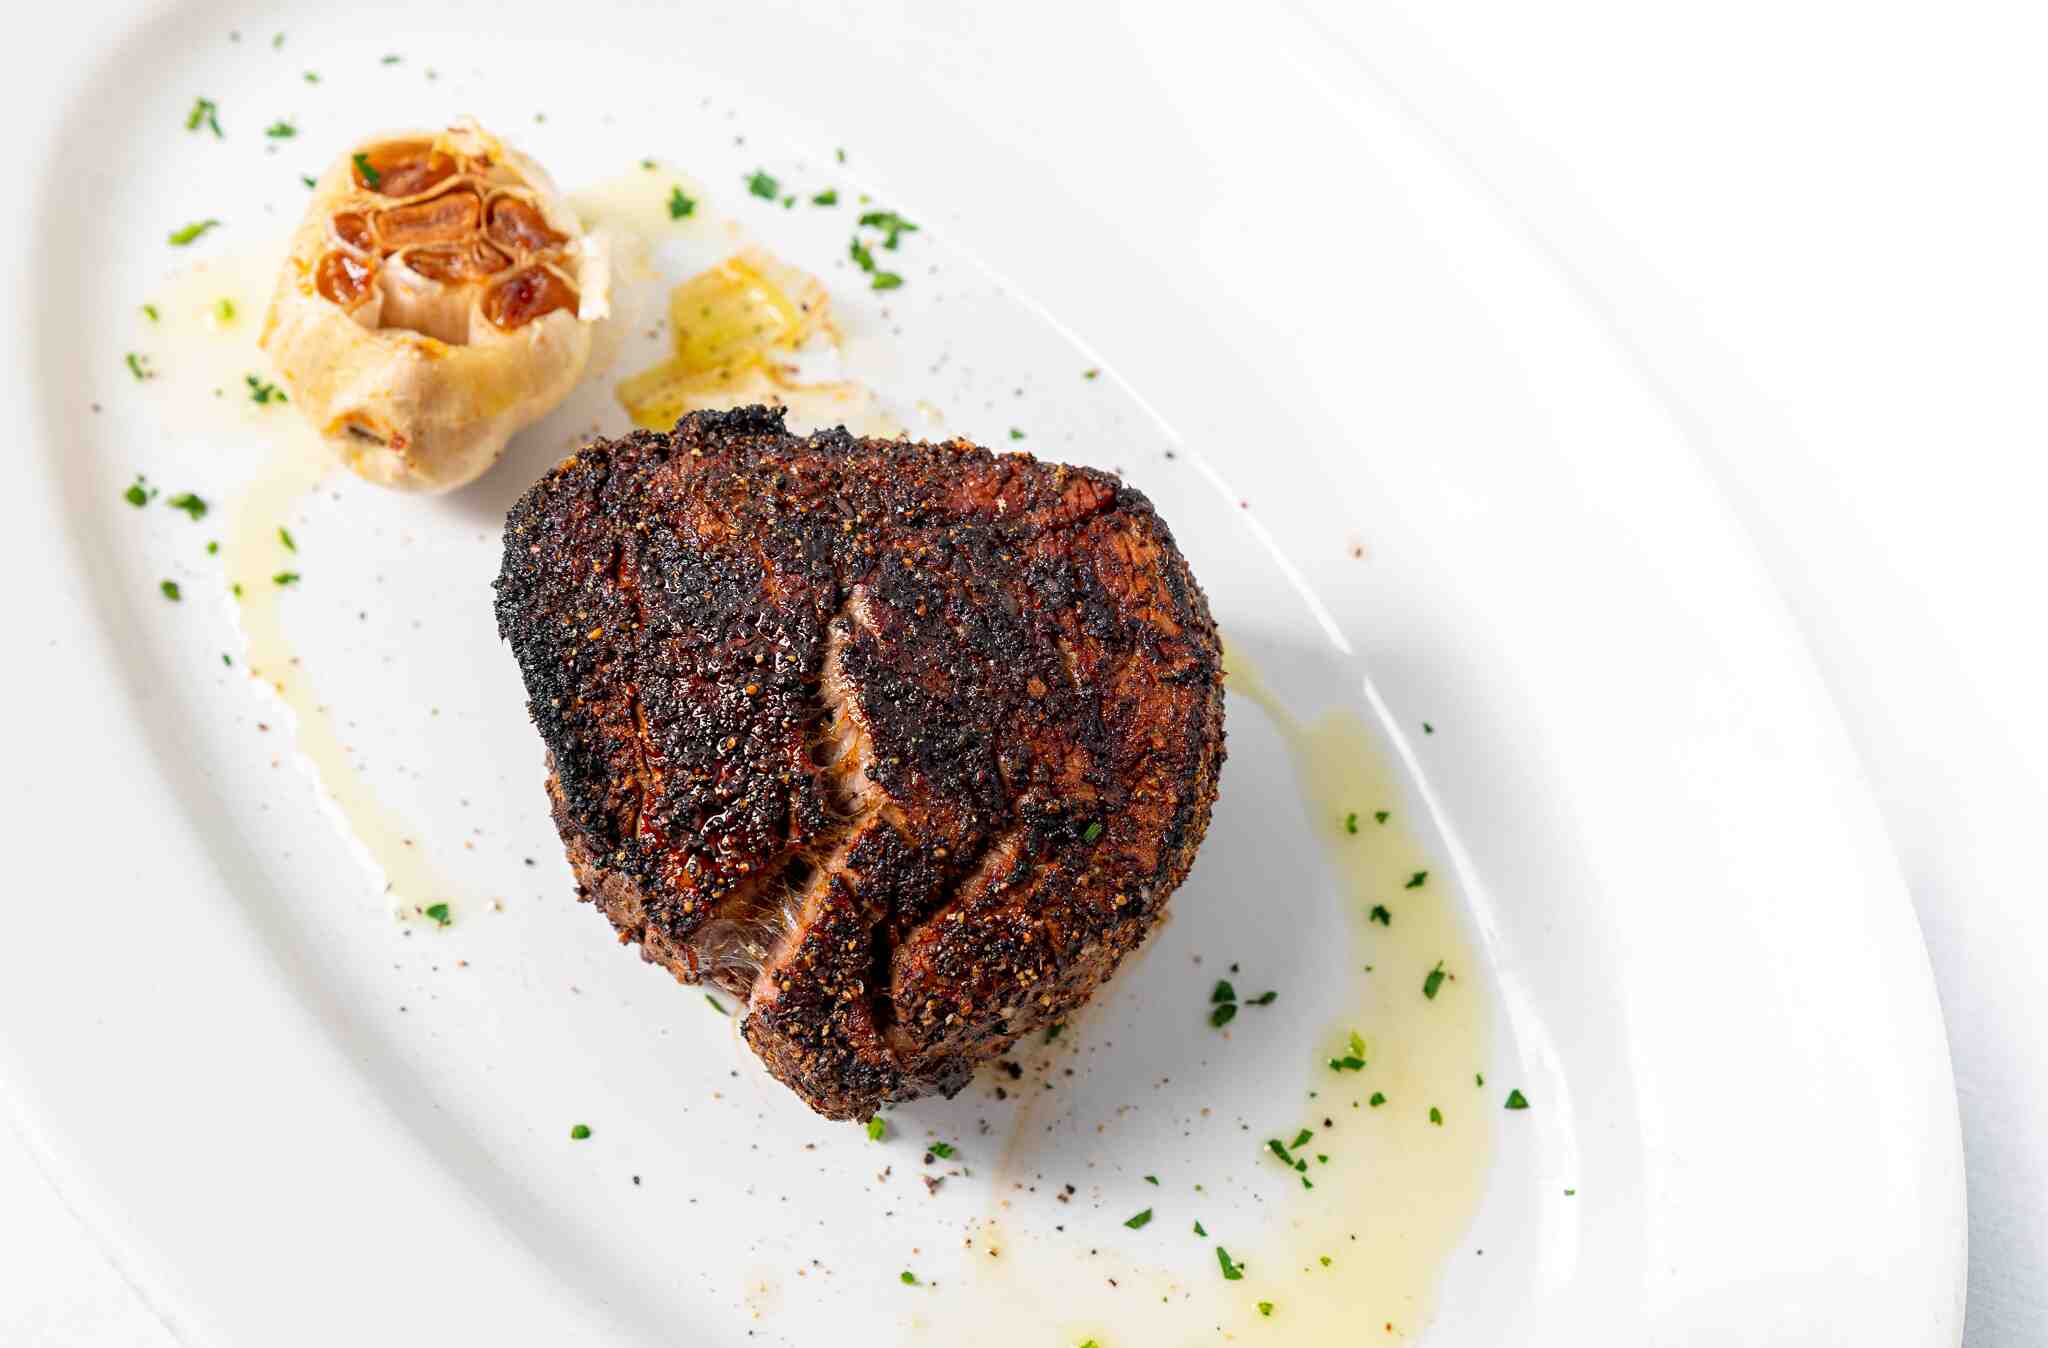
Filet mignon is, for many people, the epitome of steak cuts and is known for its tenderness, akin to butter, with a mild flavor. Being the most sensitive part of beef offers it the melt-in-the-mouth feeling so difficult to match. At Rosebud Steakhouse, we offer top-shelf filet mignon, prepared to perfect those sure, single bites are rich, juicy, and forever memorable.

Really cooking filet mignon at home seems daunting, but the right techniques will easily let you replicate a restaurant-quality steak in the comfort of your kitchen. This said, we are going to take you through step-by-step on how to cook filet mignon in the oven, turning out perfectly every time.

Why Choose Filet Mignon for an Oven-Cooked Steak?

Filet mignon is considered one of the most tender cuts, which it gets from its location on the cow-the tenderloin is a muscle that does very little work. With this in mind, it is soft in texture and therefore requires very minimal marinating or elaborate planning; its natural taste can be brought out easily. Mild yet full-bodied, this cut stands out to most steak connoisseurs because subtlety in the seasonings or even classic sauces presents it.

The oven-cooking method is ideal for filet mignon because it allows control over the evenness of cooking that will give juiciness and tenderness to the steak. Unlike grilling, which may have uneven doneness, an oven provides consistent heat, affording a much larger measure of control with regard to internal temperature. Oven cooking, when combined with quickly searing on the stovetop to create a flavorful crust, helps deliver the perfect filet mignon: tender inside and with a deliciously caramelized exterior.

Preparing the Filet Mignon to Oven

Success with the oven cooking of the filet mignon will stem from proper preparation. The right cut is the starting point. Choose a filet that is at least 1.5 to 2 inches thick, and you’ll know it will cook well even as it retains juices. Rosebud Steakhouse serves only the finest, hand-cut filets, and you can achieve that right at home by choosing a well-marbled steak from a good butcher.

Take the steak out of the fridge about 30 minutes before you cook it to bring it to room temperature, allowing the food to cook more evenly. Season liberally with salt and freshly ground black pepper on both sides of the steak. Add a little drizzle of olive oil to lightly coat the filet; this will help sear it. When cooking filet mignon, simple seasonings work the best because they let the filet speak for itself.

Searing: The Most Important Thing to Achieve with the Perfect Filet Mignon Searing gives flavor to this tender cut of meat by locking in juices and creating a caramelized crust that beautifully contrasts the tenderness of the interior. Stir-fry the filet on the stovetop before tossing it into the oven for maximum flavor boost.

First, heat the heavy skillet- preferably cast-iron- at medium-high until it is hot but never smoking. Add a small amount of high smoke point oil, like avocado or vegetable oil. When this oil is wavy, place the filet mignon carefully in the pan. Sear each side for 2 to 3 minutes until you achieve a deep golden-brown crust. Make sure to sear the sides as well to seal the juices in the steak.

Cooking Filet Mignon to Your Liking

Once the filet mignon has been seared to perfection, it is time to finish it in the oven. The secret to achieving your perfect doneness, whether it be rare, medium rare, or well-done, relies on proper oven temperature and using a very accurate internal meat thermometer.

Here are the oven temperatures and cooking times, depending on several degrees of doneness: 

Rare-120°-125° F internal temperature: Preheat the oven at 400° F. Cook for about 4 to 6 minutes, depending on how thick your filet is.

Medium Rare-130°-135° F internal temperature: Preheat oven to 400° F. Cook for 6 to 8 minutes. This will be the recommended degree of doneness for your filet mignon, for it retains the tenderness and juiciness of the steak.

Medium – Rare: 140-145°F internal. Heat oven to 400°F. Bake 8 to 10 minutes for a filet that is firm, yet still tender.

Well-Done: 150-155°F internal. Heat oven to 400°F. Bake for 10-12 minutes. This will slightly dry out the meat.

Use a meat thermometer to check the internal temperature in the thickest part of the steak. Remove the filet from the oven when it’s 5°F below your desired temperature, as it will continue cooking while it rests. This method ensures you don’t overcook your steak. For any questions or to make a reservation, feel free to contact us.

Resting Your Filet Mignon to Maximize Flavor

It is allowing the filet mignon to rest after cooking that helps retain its juices and amplifies the flavors. When meat cooks, juices rise to the surface. The second you cut into your steak, after having cooked it just right, all of those delicious juices will spill out and leave the meat dry. Resting allows the juices to redistribute throughout the steak and with every bite to be juicy and full of flavor.

To rest a filet mignon, once it’s out of the oven, let it sit there for about 5-10 minutes. Just cover the steak with aluminum foil loosely while resting so it stays hot. This short time will make the greatest difference in overall texture and taste in your steak.

Add Extra Flavor to Your Filet with Compound Butter or Sauce

You can always finish the filet mignon with a flavored compound butter or even a classic steak sauce if you want to indulge yourself even more. One of the easiest yet most sophisticated ways to dress up natural filet mignon flavors would be to top the tenderloin with a garlic herb butter. To make it, mix softened butter with finely chopped garlic, fresh herbs such as parsley, thyme, or rosemary, and a pinch of salt. Place a pat of this butter atop hot steak and serve, melting to form a rich and savory coating.

Indulge a little more with the classic sauces like béarnaise, rich and buttery in emulsion with herbs, or a red wine reduction made with the pan drippings, beef stock, and a splash of wine. Whichever you choose, it will add some sophistication to your dish and escalate your home-cooked filet mignon to the next level.

Pairing Filet Mignon with Side Dishes and Wine

The rich, delicate flavor of filet mignon pairs so well with so many side dishes. We recommend pairing it in classic accompaniment with creamy mashed potatoes, a roasted vegetable, or a simple crisp green salad. These sides are balanced with the richness of the steak without overpowering it. Roasted asparagus or even brussels sprouts add up to a nice contrast in texture with a bit of bitterness that will balance with the richness of the butter on the tenderness of the filet.

Wine is no exception when it comes to pairing something as fine as filet mignon. Here at Rosebud Steakhouse, we proudly have a voluminous wine list to satisfy each taste. When it comes to filet mignon, it calls for a full-bodied red wine. A rich cabernet sauvignon or a smooth pinot noir will be a perfect accompaniment, as the bold flavors and tannins complement and accentuate the natural juiciness of the steak. Or if you prefer white wine, a buttery chardonnay will also complement the tender filet nicely.

Why Rosebud Steakhouse’s Filet Mignon is Unmatched

At Rosebud Steakhouse, we take great pride in our decades-long history of serving only the best, highest-quality steaks. And that certainly does not exclude our filet mignon. Sourced from the finest cuts of beef and aged with great care to ensure maximum tenderness and flavor, Rosebud’s filet mignon is a cut above the rest. Whether you are dining in our iconic Magnificent Mile location or visiting our newest locations in Centennial Village, Uptown 500, or Southlake, TX, rest assured that every steak is served with the same uncompromising quality and attention to detail.

Every filet mignon at Rosebud will be cooked to perfection, so with each delicate bite, it is juicy, tender, and full of flavor. Our chefs prepare the perfect crust by using classic cooking techniques that will cook the filet to your preferred doneness while retaining the natural juices inside the meat. Simply seasoned with a touch of salt and pepper or lavishly served with a rich béarnaise sauce, filet mignon at Rosebud is sure to be one of those dishes that will linger on in memory long afterward.

Visit us at one of our locations today and savor the flavor of our signature filet mignon dishes, along with a wine that pairs just right from our extensive list. Make reservations today and see why Rosebud Steakhouse remains the bar against which all other steakhouses are compared to.

Conclusion

Cooking the perfect filet mignon in the oven does not necessarily be intimidating. If you follow these steps, such as preparation of the steak, searing for flavor crust, cooking to the right doneness, and letting it rest, you might just experience that restaurant-quality steak right in your home. And topped with extra added compound butter or rich sauce and paired appropriately with side dishes and wine, homemade filet mignon is surely going to impress your family and friends.

If you’d rather leave it to the pros, Rosebud Steakhouse stands ready. Whether it is our signature filet mignon or one of our many other prime steaks you’re in the mood for, we promise a memorable dining experience.

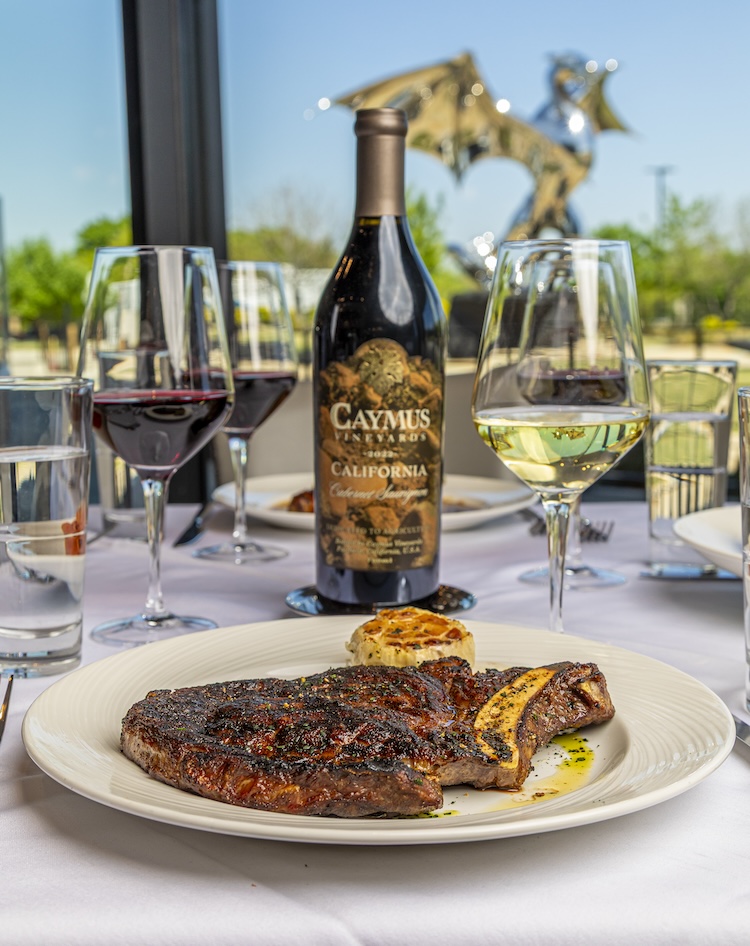
How to Cook Top Sirloin Steak: Advanced Tips and Tricks

how to cook top sirloin steak

Top sirloin steak is a beloved cut of beef, renowned for its rich flavor and versatility. It’s known for its great tenderness and rich beef flavor, making it a favorite among steak lovers. Whether you’re an experienced cook or just starting out, learning to cook top sirloin well can boost your cooking skills and wow your guests.

Getting a good top sirloin steak is not only dependent on a nice piece of meat. The thing that matters most is how it is cooked. The various steps that are taken such as seasoning and marinating right through to grilling or pan-searing are all essential for making a delicious juicy steak. Rosebud Steakhouse are professionals in preparing steak and we are venturing to share with you a few of our tricks so that you can have access to top-notch steak at your house.

What is Top Sirloin Steak?

Top sirloin steak comes from the sirloin section of the cow, specifically the upper part of the sirloin. This piece of meat is noted for its fine grain and lean composition, which helps it have a strong beef flavor and very little fat. Steaks admirers enjoy this cut because of the tender and flavored bits.

Differences Between Top Sirloin and Other Cuts of Steak

Top sirloin differs from other popular cuts like ribeye, filet mignon, and T-bone in several ways:

Ribeye: Ribeye is more marbled with fat, making it richer and more tender than top sirloin.

Filet Mignon: Filet mignon is known for its exceptional tenderness but lacks the bold flavor of top sirloin.

T-Bone: The T-bone includes both a strip steak and a portion of tenderloin, offering a combination of textures and flavors. For an exceptional T-bone steak experience, visit our Chicago T-Bone Steak Experience at Rosebud Steakhouse.

Top sirloin strikes a perfect middle ground with its lean yet flavorful profile, making it ideal for various cooking methods.

Why Top Sirloin is a Great Choice for Both Grilling and Pan-Searing

Top sirloin’s versatility shines through in both grilling and pan-searing. It’s firm enough to withstand high heat, making it a great choice for achieving a perfect sear on the grill. When pan-seared, it develops a delicious crust while remaining juicy inside. Top sirloin is a popular choice for steak lovers because it works well with various cooking methods.

Selecting the Perfect Top Sirloin

When selecting top sirloin, look for these quality indicators:

Color: A rich, red color is a good sign of freshness. Avoid steaks that are brown or gray.

Marbling: Look for fine, evenly distributed fat throughout the meat. This marbling enhances flavor and tenderness.

Texture: The steak should be firm to the touch, not mushy or overly soft.

How Marbling and Color Indicate Steak Quality

Marbling, or the small streaks of fat within the meat, is crucial for flavor and tenderness. More marbling typically means a richer taste and a juicier steak. The color of the meat should be a bright, deep red, indicating freshness. Steaks with less marbling and a dull color may not be as flavorful or tender.

Preparing Your Steak for Cooking

Proper preparation is key to a great steak. Here are the essential steps:

  1. Bring to Room Temperature: Remove the steak from the refrigerator about 30 minutes before cooking. Allowing the steak to come to room temperature ensures even cooking and prevents a cold center.
  2. Pat Dry: Use paper towels to pat the steak dry. A dry surface helps achieve a better sear and prevents steaming.
  3. Seasoning: Generously season the steak with salt and pepper just before cooking. This enhances the steak’s natural flavors. For added depth, season with a bit of garlic powder or onion powder.

Marinades to Enhance Flavor

  • Classic Seasoning: Salt and black pepper are timeless. For an extra layer of flavor, you can add garlic powder, onion powder, and a pinch of paprika.
  • Marinades: A simple marinade can elevate your steak. Combine olive oil, soy sauce, minced garlic, and a splash of balsamic vinegar. Marinate the steak for at least 30 minutes, or up to overnight, for a more intense flavor.
  • Rosebud Steakhouse Marinade: For a true Rosebud Steakhouse taste, use our special marinade made with soy sauce, Worcestershire sauce, Dijon mustard, and a bit of brown sugar.

Tips from Rosebud Steakhouse Chefs for Seasoning and Marinating

  • Even Coating: Ensure an even coating of seasoning or marinade for consistent flavor.
  • Timing: Don’t over-marinate, as this can make the meat mushy. Aim for a balance that enhances flavor without overpowering the natural taste.
  • Resting Post-Marination: After marinating, let the steak sit at room temperature for a few minutes before cooking. This helps the steak cook more evenly.

Cooking Methods for Top Sirloin Steak

Grilling

Best Practices for Grilling Top Sirloin: Preheat your grill to high heat. Clean and oil the grill grates to prevent sticking. Place the steak on the grill and avoid moving it around too much to get those perfect grill marks.

Recommended Grill Temperature and Cooking Times: Aim for a grill temperature of about 450-500°F (230-260°C). Grill the steak for about 4-5 minutes per side for medium-rare, adjusting time based on thickness and desired doneness.

How to Achieve the Perfect Grill Marks and Doneness: To achieve crosshatch grill marks, rotate the steak 90 degrees halfway through grilling each side. Use a meat thermometer to check doneness and ensure you get your steak just right.

Pan-Seared

  • Steps for Pan-Searing Top Sirloin on the Stove: A thick frying pan (better if it is made of cast iron) should be heated strongly on high flame. Thereafter a very small quantity of oil having high smoke point like canola or grapeseed oil should be added. Next, take the steak and put it into the frying pan, shareit for 4 or 5 minutes on each side if you want medium rare. If desired, use tongs to burn the edges.
  • Importance of Using a Hot Skillet and Finishing with Butter: A hot skillet ensures a good sear, which locks in juices and flavor. Finish cooking by adding a pat of butter and basting the steak with it for a rich, buttery flavor.
  • Tips for Achieving a Restaurant-Quality Sear, Inspired by Rosebud Steakhouse Techniques: Don’t overcrowd the pan—cook one or two steaks at a time. After searing, let the steak rest to allow juices to redistribute.

How to Check for Doneness Using a Meat Thermometer

A meat thermometer is essential for achieving the perfect steak doneness. Here’s how to use it effectively:

Insert the Thermometer: Place the thermometer into the thickest part of the steak, avoiding bone or fat.

Read the Temperature: Wait until the thermometer reading stops changing before you take it out.

Different Levels of Doneness

Rare (120-125°F / 49-52°C): The steak will be cool in the center with a very red interior. Cook for a shorter time on each side to achieve this doneness.

Medium-Rare (130-135°F / 54-57°C): Warm red center with a slight pink hue. This is often considered the ideal level for maximum tenderness and flavor. Sear each side for a bit longer than rare.

Medium (140-145°F / 60-63°C): The center will be pink with more cooked edges. Allow the steak to cook longer, flipping occasionally to ensure even cooking.

Medium-Well (150-155°F / 66-68°C): Slightly pink center with mostly brown exterior. Increase cooking time and monitor closely to avoid overcooking.

Well-Done (160°F / 71°C and above): Fully cooked throughout with no pink. This can be drier, so it’s essential to avoid overcooking by monitoring carefully.

Rosebud Steakhouse’s Standards for Steak Doneness

At Rosebud Steakhouse, we adhere to strict standards to ensure your steak meets your expectations:

Precision Cooking: We use calibrated thermometers to cook each steak to your preferred level of doneness.

Consistency: Our chefs are trained to deliver consistent results, ensuring each steak is cooked perfectly every time.

Quality Control: We taste-test and adjust our cooking techniques to maintain high standards of flavor and texture.

Serve Immediately: Once sliced, serve the steak right away to enjoy the full flavor and tenderness.

Serving Suggestions

Enhance your top sirloin steak with the perfect sides and sauces:

  • Sides: Try classic steakhouse sides like roasted vegetables, mashed potatoes, or a crisp Caesar salad. Sautéed mushrooms or creamy coleslaw also complement the steak beautifully.
  • Sauces: Rich sauces like a red wine reduction, creamy peppercorn sauce, or classic Béarnaise add a gourmet touch. For a simpler option, a dollop of compound butter or a sprinkle of sea salt can elevate the flavor.

Common Mistakes to Avoid

Overcooking: One of the most common mistakes is overcooking the steak. To avoid this, use a meat thermometer to check for doneness, and remember that the steak will continue to cook slightly as it rests.

Underseasoning: Failing to season the steak adequately can result in a bland flavor. Be generous with salt and pepper, and consider using marinades or rubs to enhance the taste.

Cooking Cold Steak: Cooking a steak straight from the refrigerator can lead to uneven cooking. Always allow the steak to come to room temperature before cooking.

Not Preheating the Pan or Grill: A hot cooking surface is crucial for a good sear. Preheat your pan or grill before placing the steak on it to achieve the best results.

How to Troubleshoot Issues for a Better Cooking Experience

  • Steak Isn’t Browning: If your steak isn’t browning, the pan or grill might not be hot enough. Increase the heat and ensure the cooking surface is well-oiled.
  • Steak is Tough: Tough steak can result from undercooking or using a low-quality cut. Ensure you’re cooking the steak to the correct temperature and consider using high-quality meat.
  • Uneven Cooking: If the steak cooks unevenly, it could be due to an uneven cooking surface or the steak being too thick. Use a flat, preheated pan or grill and ensure the steak is of uniform thickness.

Conclusion

To cook top sirloin steak perfectly, pay attention to details and use the right techniques. Knowing how to prepare and cook it properly will help you make a restaurant-quality meal at home. Avoid common mistakes and follow our tips for the best results.

Give cooking top sirloin steak at home a try and enjoy the pride of making a great meal. For an amazing dining experience, visit Rosebud Steakhouse to taste our expertly cooked top sirloin and our special sides and sauces. Whether you’re cooking at home or eating out, we’re here to help you enjoy the best steak.

How to Dry Age a Steak at Home: Your Ultimate Guide 2024

How to Dry Age a Steak at Home

Dry aging is a process where meat, especially steak, is stored in a special environment for several weeks. The meat is kept cool and controlled, which makes it taste better and become more tender. The flavor becomes richer and the texture improves as enzymes break down tough fibers. The meat also develops a slight crust that locks in juices when cooked. Dry aging enhances the eating experience, making each bite more delicious. If you’re still interested after reading all that, here’s what you need to know:

What is Dry Aging?

Dry aging is a process where beef is stored in a controlled environment for several weeks. This allows natural enzymes to break down the meat’s fibers, enhancing its flavor and tenderness. The beef is kept at a low temperature and humidity, which helps it develop a rich, concentrated taste. The outer layer of the meat dries out and is later trimmed off. Dry-aged steak is known for its superior taste and texture, making it a favorite among steak lovers.

Why Dry Age at Home?

Dry aging steak at home has many benefits:

  • Cost Savings: It’s cheaper to buy and age your own steak than to purchase pre-aged steaks from a store or restaurant.
  • Control: You can monitor and adjust the aging process to suit your taste preferences.
  • Quality: You select the best cuts of meat and ensure they are aged in a clean, controlled environment.

Selecting the Right Cut of Beef

Best Cuts for Dry Aging

  • Ribeye: A popular choice for dry aging because of its rich marbling and flavor.
  • Strip Loin: Known for its tenderness and beefy taste, it ages well and develops deep flavors.
  • Sirloin: Offers a good balance of tenderness and flavor, making it a great option for dry aging.

These cuts have the right amount of fat and muscle to benefit from the dry aging process, resulting in a tastier and more tender steak. Check out our expert guide on how to cook ribeye steak in the oven

Choosing High-Quality Beef

When dry aging a steak at home, start with high-quality beef. Look for USDA Prime or Choice grades, as these have the best flavor and tenderness. Check the marbling, which is the white fat running through the meat. More marbling means a juicier and more flavorful steak. Good fat content is crucial because it keeps the meat moist during the aging process. Choosing the right cut, such as ribeye or strip loin, also helps ensure a delicious result.

Expert Tip: Choosing the Best Cut

According to chefs from our Rosebud Steakhouse, the best cuts for dry aging are well-marbled ones like ribeye and strip loin. These cuts have the right amount of fat, ensuring the steak remains juicy and flavorful after the aging process. Contact us online or visit us today to speak with our expert.

Preparing Your Refrigerator for Dry Aging

  1. Necessary Equipment

To dry age a steak at home, you need a dedicated mini-fridge or a spare refrigerator. This is important to keep the steak at a constant temperature. You’ll also need a wire rack and a baking sheet. The wire rack allows air to circulate around the steak, and the baking sheet catches any drips.

  1. Setting Up the Fridge

Start by thoroughly cleaning and sanitizing your fridge to ensure a safe environment for the meat. Make sure there is proper airflow inside the fridge. You can place a small fan inside to keep the air circulating. This helps to maintain a consistent temperature and humidity level, which are crucial for dry aging.

Setting Up the Dry Aging Environment

Temperature and Humidity Control

To dry age a steak at home, keep the temperature between 34°F and 38°F. Use a dedicated fridge to maintain this range. Control humidity levels between 80% and 85% to prevent the meat from drying out too quickly. A small fan can help circulate air and keep conditions stable.

Air Circulation

Good airflow is crucial when dry aging a steak at home. Proper air circulation helps prevent mold and bacteria from growing on the meat. To ensure this, use a small fan in your fridge to keep the air moving. This will help the steak age evenly and safely.

Maintaining Optimal Conditions

Experts from Rosebud Chicago recommend setting up your fridge at a consistent temperature between 34-38°F (1-3°C) for dry aging steak. Use a small fan for proper airflow and monitor humidity around 80%. Change the wrapping every few days to prevent mold and ensure the best results.

Aging the Steak: Duration and Conditions

Recommended Aging Times

Dry aging steak requires patience. The minimum aging period is 14 days. This is enough time to start developing flavors. For the best results, aim for 21 to 45 days. This period gives the steak a rich, deep taste. The longer you age, the more intense the flavor becomes.

Monitoring the Process

It’s important to regularly check the temperature and humidity in your fridge. The temperature should be between 34-38°F (1-3°C), and the humidity should be around 80%. Use a thermometer and a humidity gauge to monitor these conditions. Also, inspect the steak for mold and spoilage. A little white mold is normal and you can trim it off, but if you see green or black mold, discard the steak.

Expert Tip: Monitoring Your Steak

Chefs from Best Steakhouse Chicago suggest looking for a dark, even color on the steak. This indicates proper aging. The steak should also have a firm texture. If you notice any off smells or slimy textures, it means the steak has spoiled and should not be eaten.

Trimming and Preparing the Aged Steak for Cooking

Trimming the Aged Beef

When your steak has finished aging, it’s time to trim it. Start by removing the dried outer layer. This part can be tough and not pleasant to eat. Use a sharp knife to carefully cut away this outer layer. Also, trim any excess fat and any parts that look undesirable. This will leave you with the best part of the steak.

Seasoning and Resting

Season the steak with salt and pepper. Simple seasonings let the flavor of the aged beef shine. Before you cook the steak, let it come to room temperature. This helps it cook more evenly.

Preparing Your Steak for Cooking

Experts of Chicago Steakhouses recommend trimming carefully and seasoning generously. They say proper trimming and seasoning are key to a perfect steak.

Cooking Your Dry Aged Steak to Perfection

Cooking Methods

  • Grilling: Preheat your grill to high heat. Sear the steak for 2-3 minutes on each side, then move it to a cooler part of the grill to finish cooking.
  • Pan-searing: Heat a heavy skillet over high heat. Add a bit of oil, then sear the steak for 2-3 minutes per side. Finish in the oven if needed.
  • Oven-roasting: Preheat your oven to 400°F (200°C). Sear the steak in a hot pan for 2-3 minutes per side, then transfer the pan to the oven for 6-10 minutes.

Tips for Best Results

  • Use a meat thermometer to check doneness. Aim for 130°F (54°C) for medium-rare.
  • Rest the steak for 5-10 minutes after cooking to let the juices redistribute.

Cooking Like a Pro

  1. Step-by-step guidance from Steakhouses in Chicago chefs:
  2. Season the steak generously with salt and pepper.
  3. Sear in a hot pan until a crust forms.
  4. Finish in the oven for even cooking.
  5. Let the steak rest before slicing.

Troubleshooting Common Issues

When dry aging steak at home, you might encounter a few common problems. Excessive mold growth can happen if there’s too much moisture or not enough airflow in the aging environment. To prevent this, adjust the humidity levels and ensure proper airflow around the steak. Unpleasant odors can also occur if you do not properly wrap the meat or if you do not keep the fridge clean.  Keep your aging space clean and change the wrapping regularly to avoid these issues.

Restaurants in Munster Indiana expert recommend keeping a close eye on your steak during the aging process. Adjust temperature and humidity as needed, and maintain good sanitation practices in your aging environment. By troubleshooting these issues early, you can ensure your dry-aged steak turns out delicious and safe to eat.

Conclusion:

Mastering the art of dry aging steak at home takes time and attention to detail, but the results are well worth the effort. By following this guide, you’ll enjoy steakhouse-quality meals in the comfort of your home. And for those nights when you want to leave it to the experts, visit one of our Rosebud Steakhouse locations: Magnificent Mile, Centennial Village.

FAQ for How to Dry Age a Steak at Home

Can you dry age steak at home?

Yes, you can dry age steak at home with the right equipment and careful monitoring.

Can I dry age steak in my fridge?

You can dry age steak in a dedicated fridge with controlled temperature and humidity.

How are steaks aged without spoiling?

Steaks are aged by placing them in a controlled environment with low temperature and humidity, which helps develop flavor without spoiling.

How do they dry age steaks?

Steaks are dry aged by placing them on racks in a fridge, allowing them to naturally tenderize and intensify flavor over time.

How is dry aged steak not rotten?

Dry aged steak is protected from spoiling by the controlled fridge environment, which regulates temperature and humidity to prevent bacterial growth.

How long is it safe to dry age steak?

It’s safe to dry age steak for 14 to 60 days, depending on your desired flavor intensity and tenderness. Longer aging can enhance flavor.

What I “LOVE” about Valentine’s Day At The Restaurant!

restaurant

Okay, so February is the month when we all get a little mushy or soft, but it is for good reason…Valentine’s Day is right around the corner. I get asked all the time what my favorite times or holidays are to be in the kitchen, and hands down- it is Valentine’s Day! So please sit back and let me tell you why…

Valentine’s Day is a time of love, passion and celebration- and it’s no different in the restaurant. From the delicious dishes to the passionate people who serve them, there’s something special about Valentine’s Day that brings out the best in everyone. I love seeing couples come in with smiles on their faces, excited to share a special evening together.

Valentine’s Day: Passion, Pressure, Perfection, Love!

I love watching as we present each dish with care and thoughtfulness, as if we made it with love itself. And I love seeing the look of joy on people’s faces when they take that first bite of their favorite dish or enjoy sipping a glass of champagne or wine. Valentine’s Day in the restaurant is truly an experience like no other – one full of romance, passion, and most importantly, love!

In the restaurant industry, we manage most holidays through ‘mini-explosions’. We bond with our team over the pressure of achieving perfection on the customer’s clock. These moments enable us to serve the customer. However, my limited interaction with them prevents me from satisfying my craving for it.

The regulars and the new customers that just want to connect with the kitchen to enhance or complete their experience with us. Don’t get the opportunity too because of the high volume and fast pace. I am driven by this, and when I truly need to to “Recharge The Batteries or Fill The Tank”. our customers and regulars keep me doing what I do daily. Please don’t get me wrong, Valentine’s Day is busy as well, but it is different. The mood lightens, and our customers and ambiance become very relaxed. I catch longing looks over our linguini and lobster at every turn. People are smiling, happy, and truly in love with each other and our restaurant.

Valentine’s Day in the restaurant creates a special experience that people will remember for years to come. It’s a day when couples express their love through delicious food and drinks, surrounded by others who share their feelings for each other and our restaurant.

Hugs and Kisses,

-Chef Steve Copolillo, Owner and Operator

How to Plate Your Food Like a Professional Chef and Take the Best Food Pics Possible!

food plating

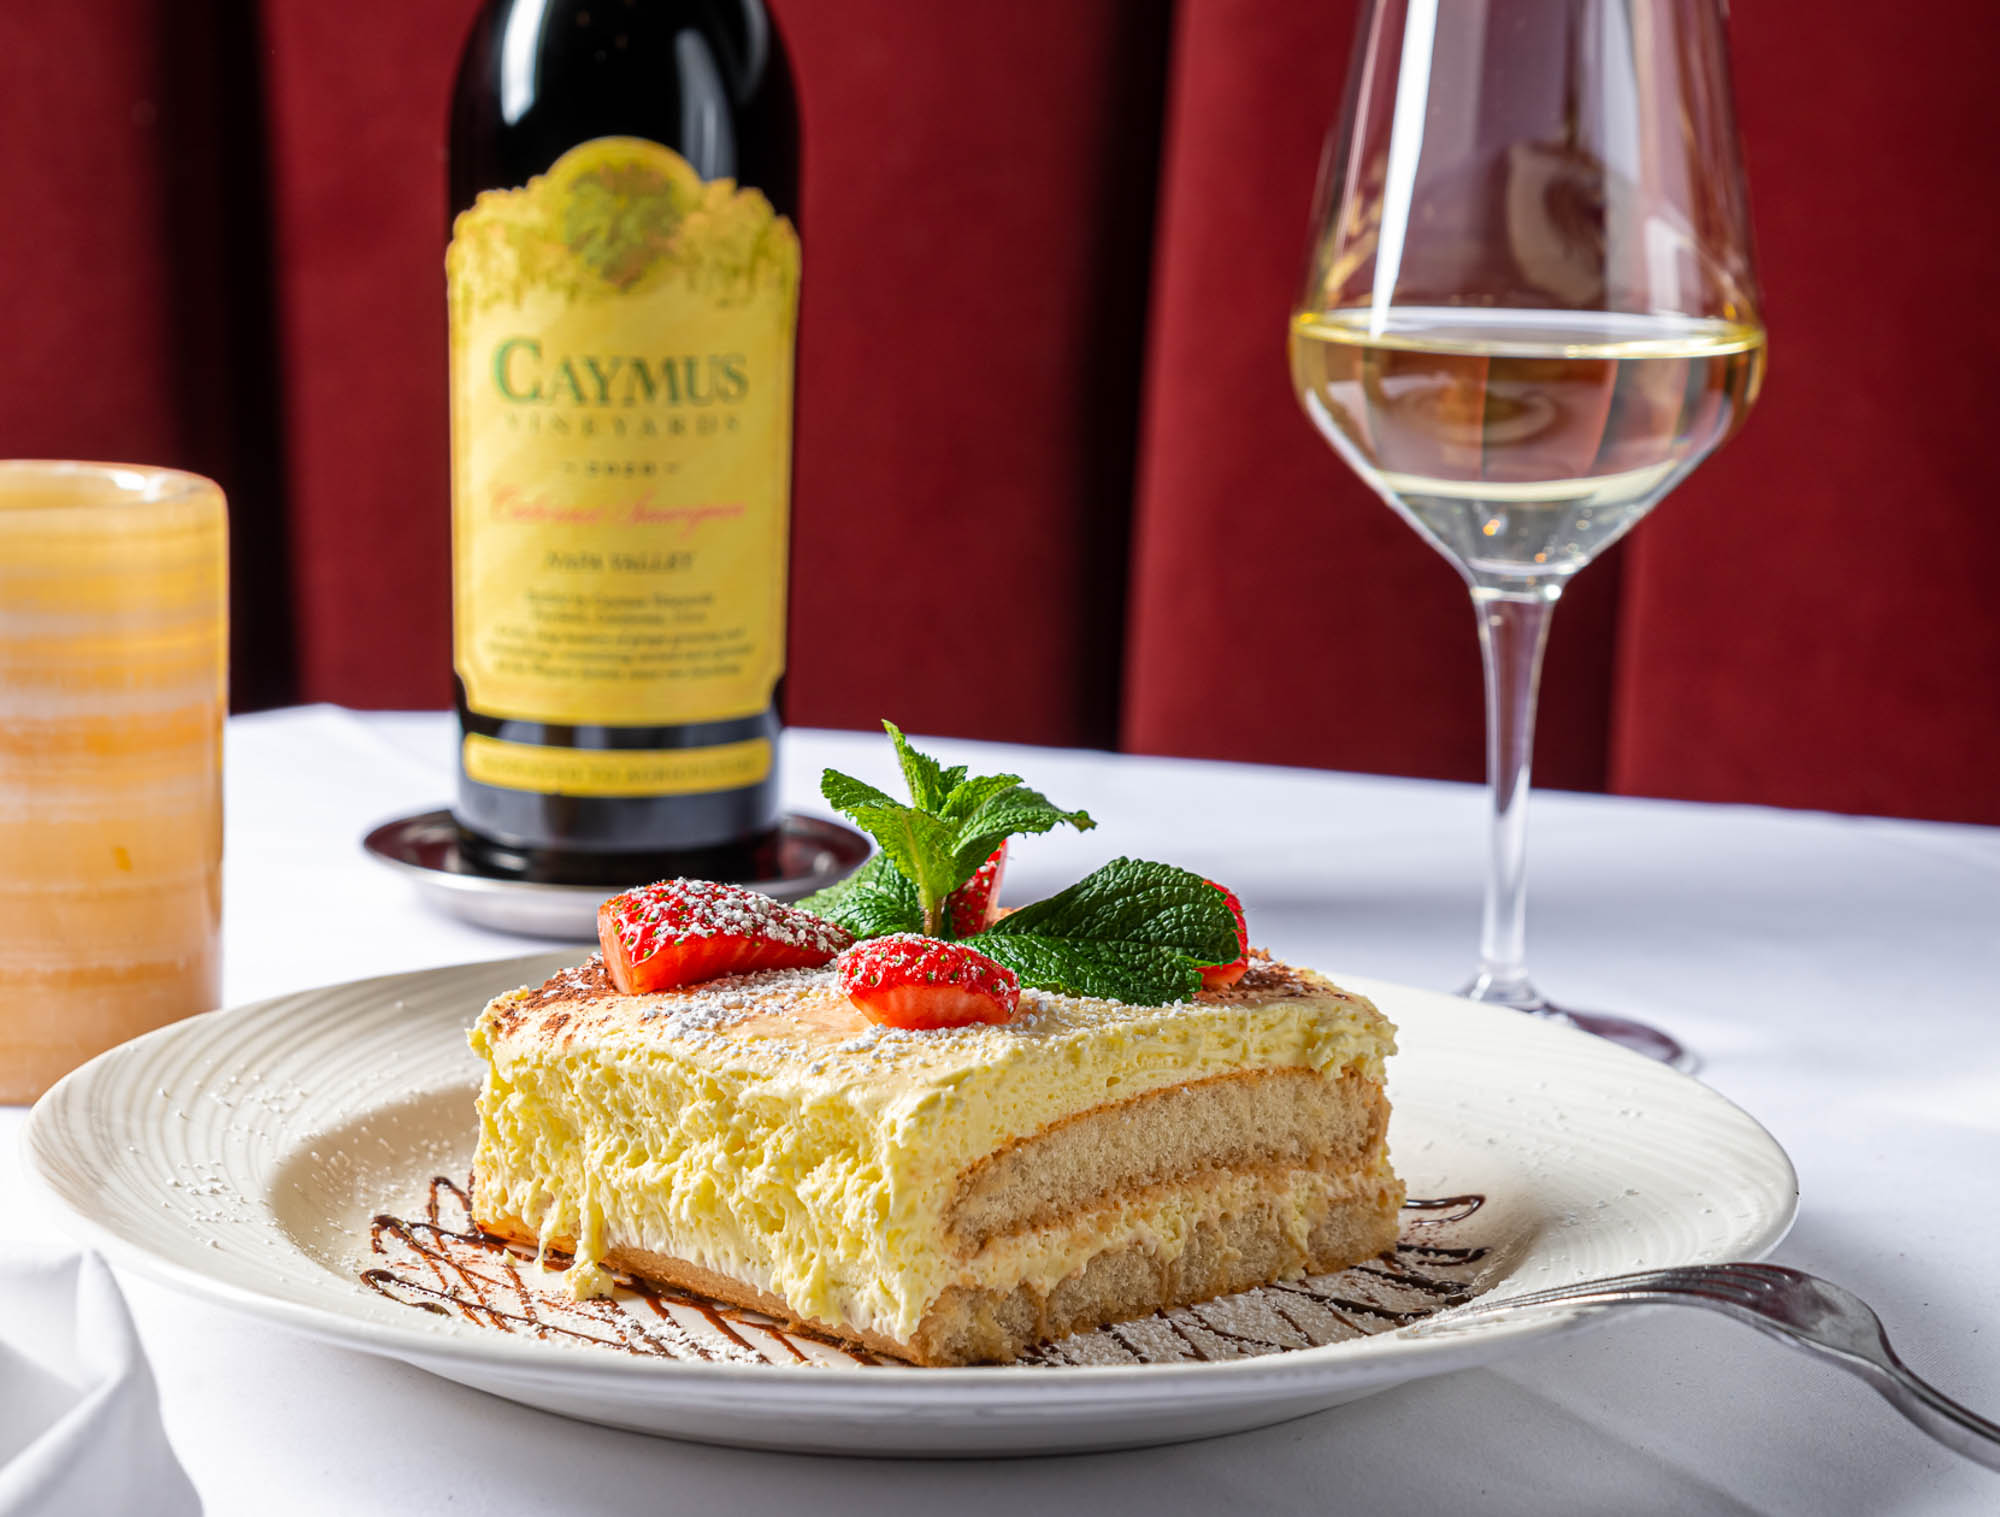
So, while I was doing our latest food shoot at the Steakhouse, I was thinking about my plates that I wanted to shoot. And truth be told, I changed one of them 3 times! Not because, as my wife would say, I am “Picky”…but because the details matter to me and food plating is an art form. In fact, it has been an artform that has been around for centuries, and it is becoming increasingly popular in the world of culinary art.

Food plating involves placing food on a plate in a visually appealing way, and at its most basic level… It is used to enhance the eating experience. Food presentation is an important part of any meal, it can make a dish look more appetizing and inviting. By using food styling techniques such as color, contrast, texture variation, and height differences, chefs can create plates that will tantalize the taste buds. With food plating becoming more popular than ever before, chefs are now able to express their creativity through this unique art form.

Essential Tips for Creating Eye-catching Food Plating Presentations From The Pro, Steve Coppolillo.

Fortunately, I had some mentors that were able to cram the philosophy behind plating into my brain. It can really make the difference between a dish that looks just okay on the plate and one that looks amazing. To help you create eye-catching food plating presentations, here are three essential tips to start you off.

  1. Plan, plan, and replan—the ‘measure twice, cut once’ drill ensures a solid shoot with the right outcome. Plan with the end goal in mind and work backwards to achieve your vision. Draw inspiration from fellow chefs but never rip off someone else’s work—especially mine.
  2. Selecting the right plate is crucial for creative plating and stunning food photos. Over time, you’ll master different presentation techniques to make your dishes look even better than they taste!
  3. To shoot the right shots, you have got to have style! Food styling is another art form that takes years of tips, tricks, and surprisingly, a trip to one of my favorite places- Home Depot! Food stylist have a ton of aces up their sleeves when it comes to taking great shots and the first time I saw our Influx Photographer, Andy (BTW best photographer in the city), spray hairspray on my dishes and pour glue into one of my soup bowls and pull out plastic ice cubes…I did not know if he should be committed or commended!

Quick Tips for Food Photography

This is obviously not the type of styling you will be doing, but what you have to understand is that food starts dying (cooling off) as soon as it hits a plate. Your dish will never look better than the first few seconds it’s on the plate. You must shoot the food quickly or use tricks from the food styling trade to offset the cooling off or dying stage of the food.

In conclusion and in my humble opinion, food plating is an art form that can help you elevate any dish and cooking experience. With the right techniques, you can create beautiful and professional looking dishes that will impress your guests and make your meals more memorable. Whether you are a beginner or a seasoned old salt like myself, food plating can help you take your cooking to the next level. From simple garnishes to complex designs, there are many creative ways to plate food that will make it look as delicious as it tastes. With practice and patience, you can create stunning dishes that will have everyone asking for seconds. Or, just do what I do these days, call in the pros at Influx– sit back and call the shots during the shoots!